
Launch Holophonix Native (or Designer) that you installed in the previous lesson.
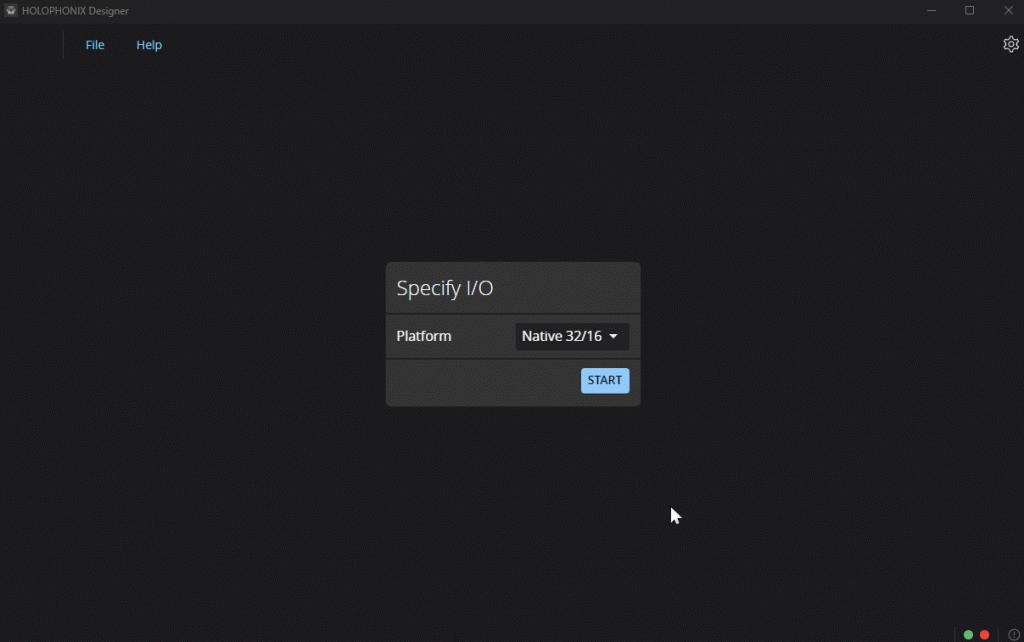
When launching Designer, you will be asked to choose a target architecture. Let’s select “Native 32/16” for now (it can be changed later if needed).
Download the example project we will use throughout this lesson:
In the project manager, select “import” using the dedicated button, and select the zip file you just downloaded.
Once the project has been added, it appears in the list. Click “Load”.
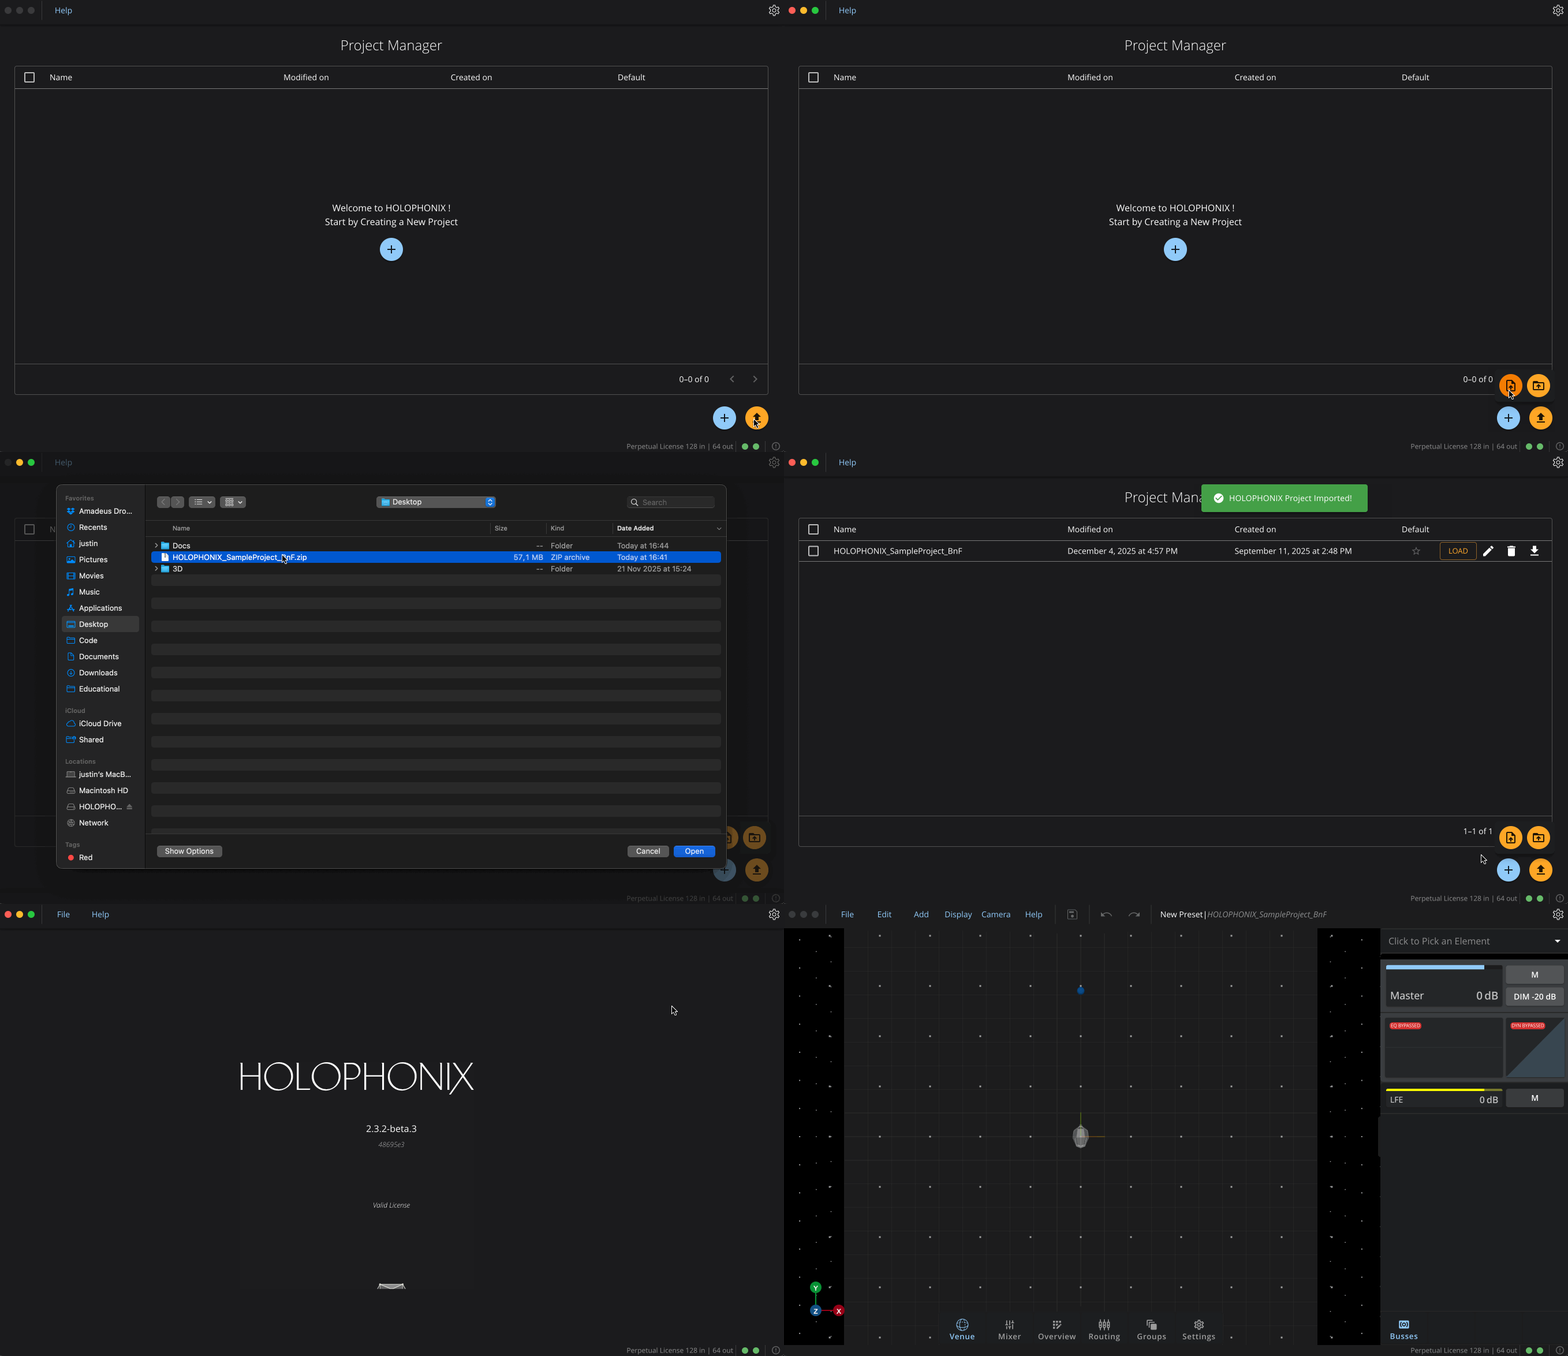
The project is now loaded. You will notice that the interface is empty, which is normal.
In Holophonix, projects work like “folders” and contain different “presets”. Here the folder has been opened, but the preset has not yet been loaded.
To load the project, go to File > Open preset manager and click load on the available preset.
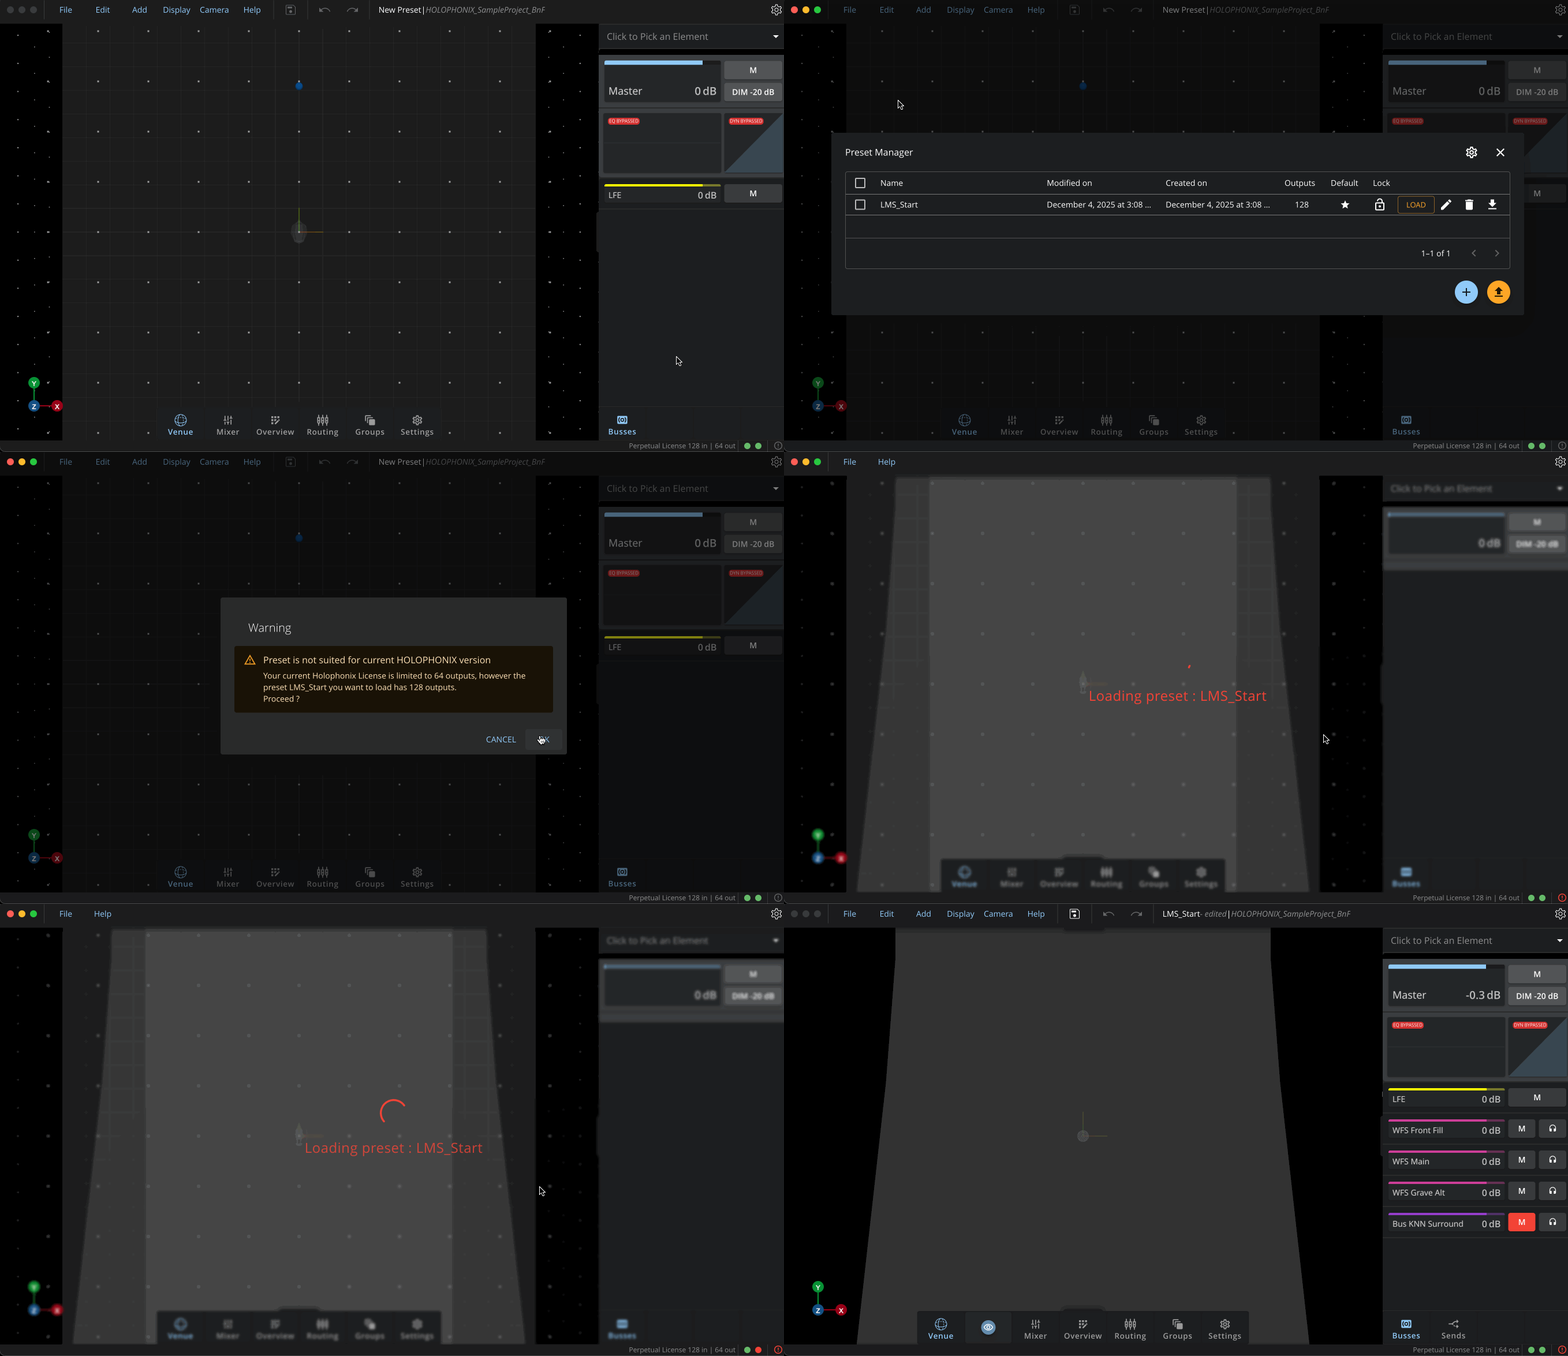
You will see new elements appear after loading the preset.
The Main Interface
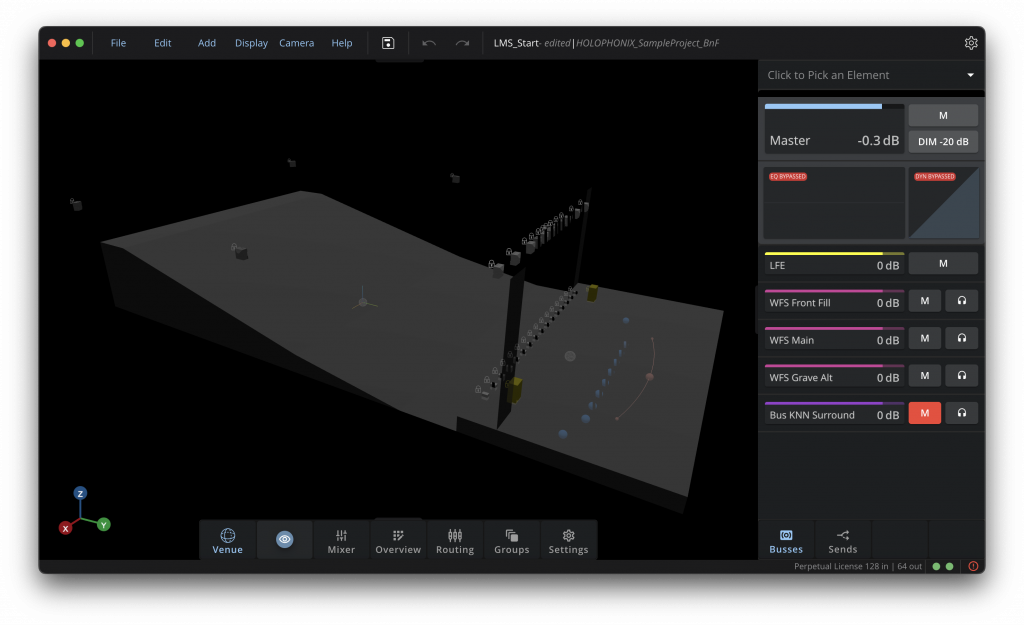
The Holophonix interface is divided into 2 main parts.
On the left, the main section is the 3D view. This view allows us to visualize the venue, sources, loudspeakers, and all objects present in the project.
The side panel on the right provides more information on selected elements (inspector) and also allows action on the main components (Master, Bus, Sends) when nothing is selected.

The dock at the bottom of the screen provides access to:
- Mixer (similar to a DAW mixer)
- Overview (lists the elements present)
- Routing (for routing between elements)
- Groups (for grouping elements)
- Settings
You can explore these elements right away; we will detail their use as the lessons progress.

The menu bar provides access to essential functions:
- File: Access the project and preset manager, save or close the current preset & project.
- Edit: Access Undo/Redo and Copy/Paste functions. Also delete an element, or access transformation and general settings.
- Add: Add an element (source, bus, speaker).
- Display: Access all visualization settings such as the display theme, the 3D venue, and VU meters.
- Camera: Access camera presets (front view, top view, etc.) as well as the projection type (Orthographic or Perspective).
- Help: Access documentation, tutorials, submit bugs, or manage your license.
After the menus, common actions for saving, undoing and redoing are available, as well as the name of the project and preset currently being edited.
Exploring the Venue
In the main window, we can navigate the 3D view using the following:
- Zoom: Using the scroll wheel or a scroll/zoom gesture on a trackpad.
- Orbit: Rotate around the venue with [Ctrl] while clicking and dragging the cursor.
- Pan: Move along two axes with [Option] (Mac) or [Alt] (Windows) while clicking and dragging the cursor.
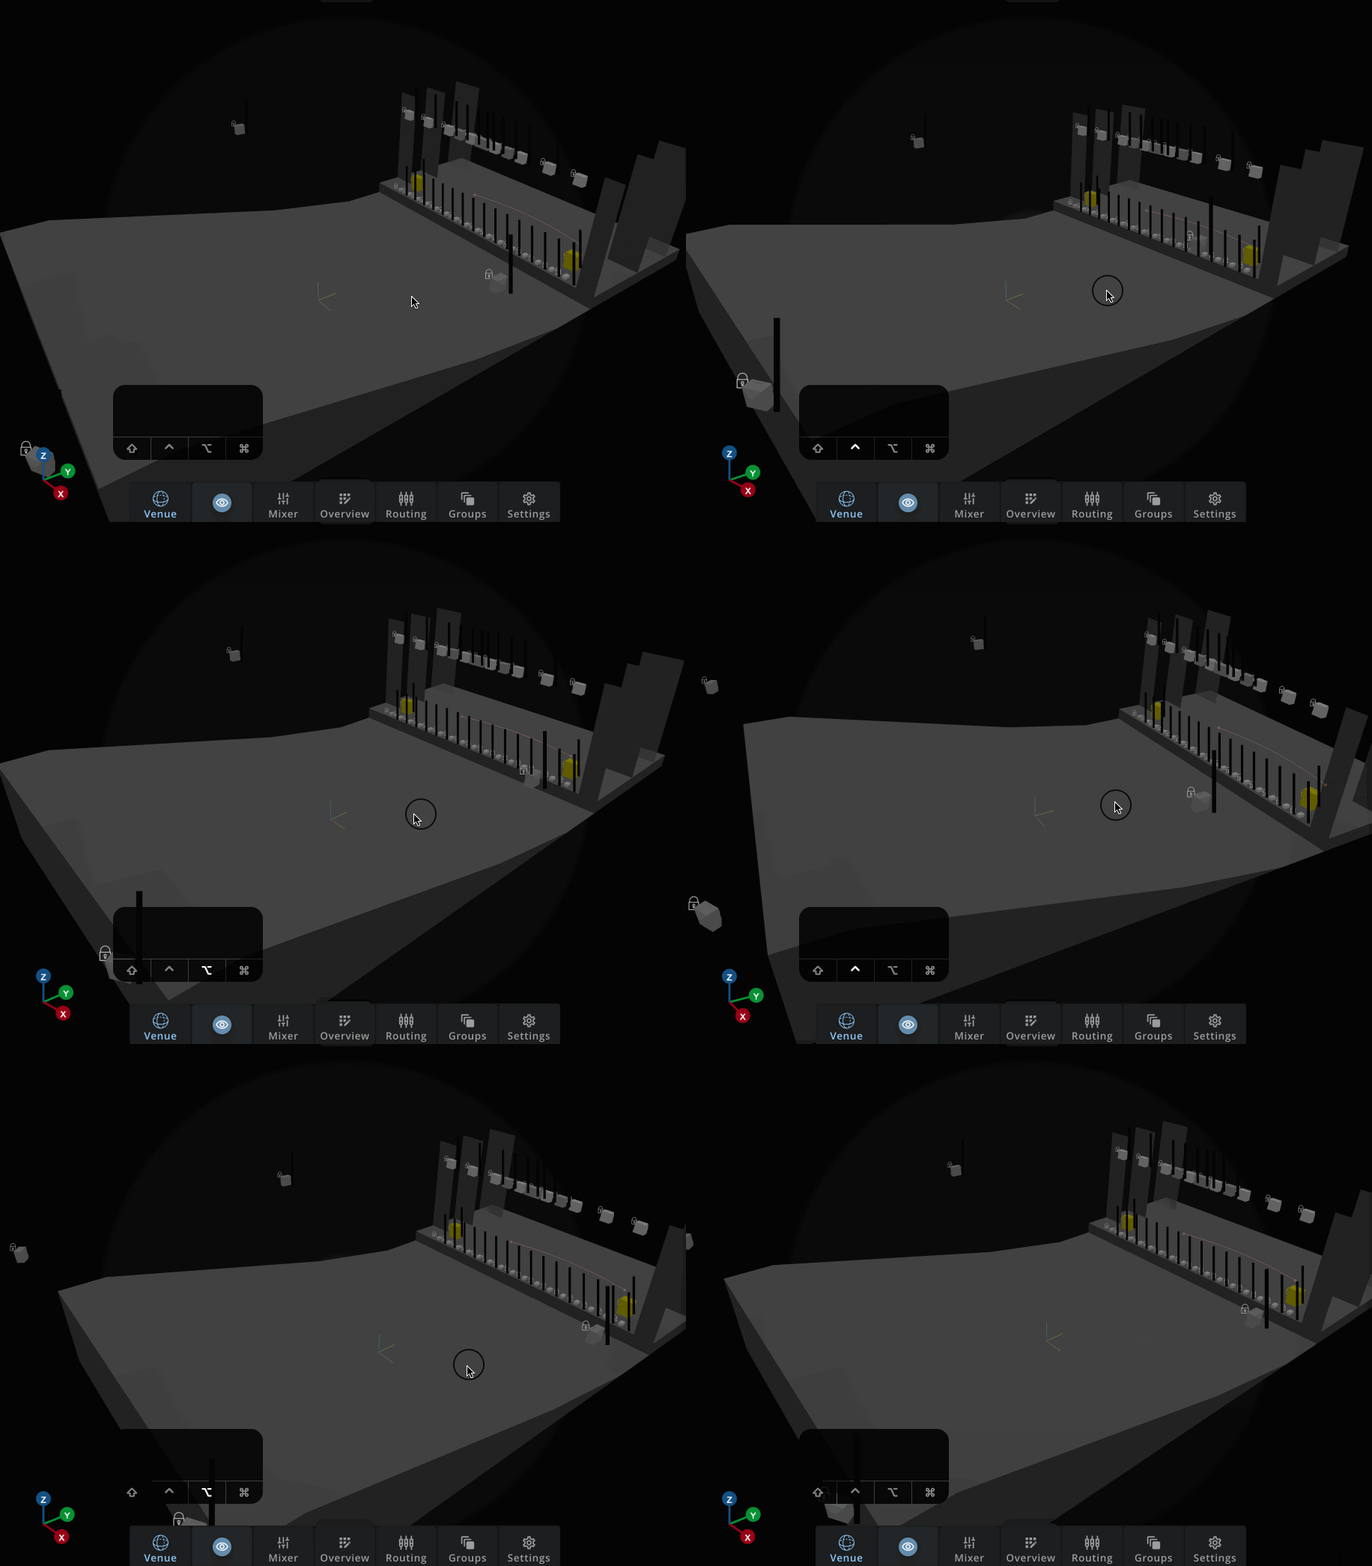
The room represented in this project is the auditorium of the François-Mitterrand Library in Paris.
The installation consists of the following main parts:
- A low stage-edge ramp consisting of 16 loudspeakers (Amadeus PMX 5)
- An upper ramp consisting of 8 point source loudspeakers Amadeus C12 and 4 bass loudspeakers Amadeus C12B
- 4 “surround” loudspeakers Amadeus C12 (left and right lateral, and left and right rear)
- 2 subwoofers Amadeus ABB 12 (at the stage edges, left and right)
We can see the loudspeakers in the 3D model, and also in the Overview by clicking the Overview button in the dock at the bottom of the screen and clicking on the Speakers tab.
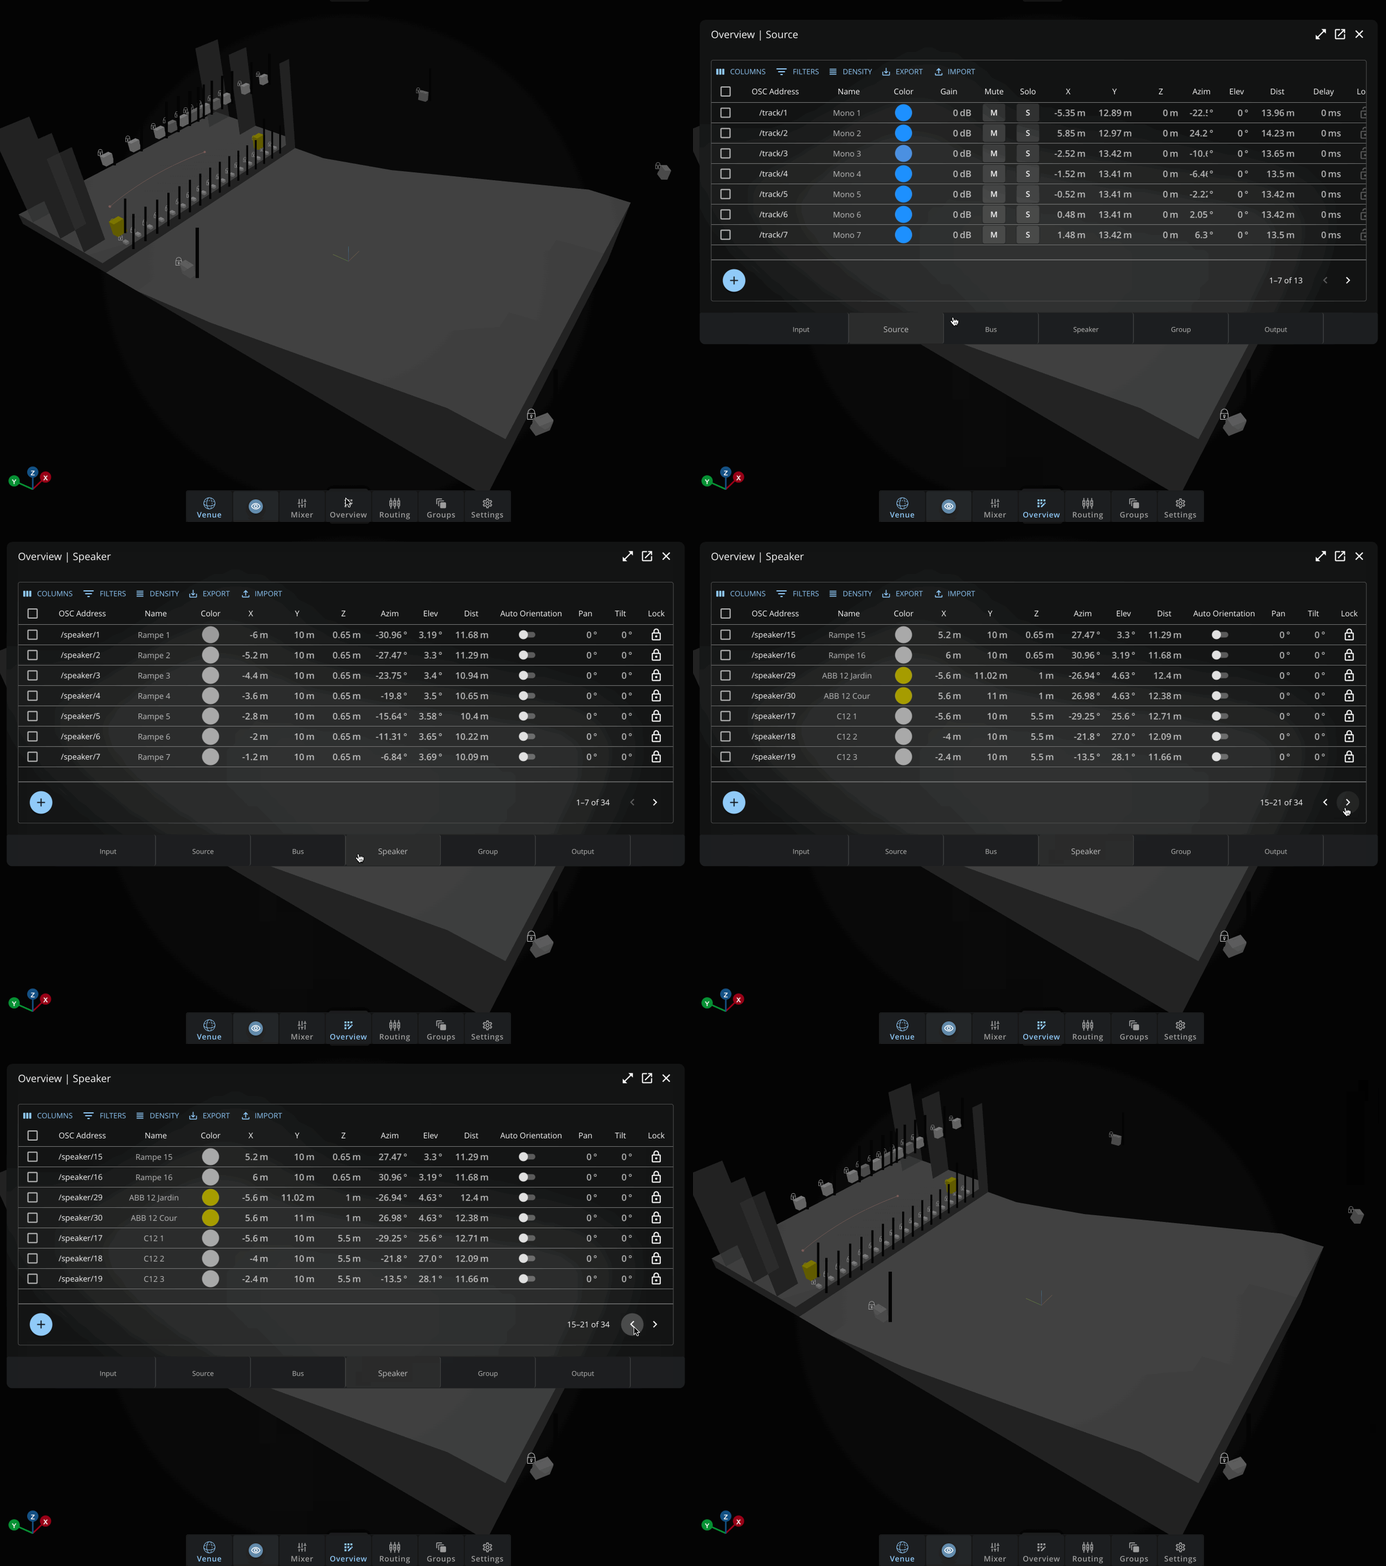
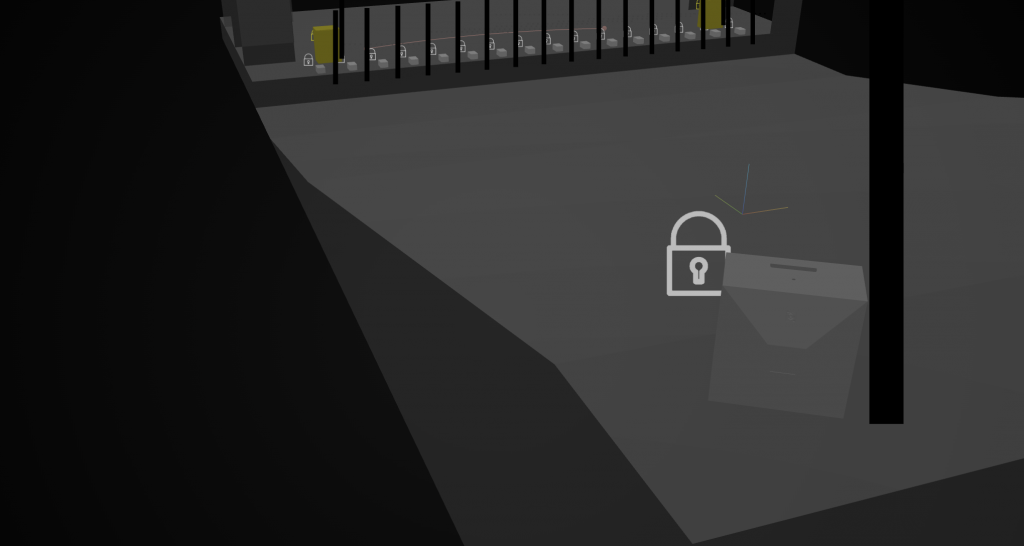
At the moment, we can see that the loudspeakers have a lock icon next to each one. This lock indicates that the loudspeaker parameters (position, orientation, model, …) are locked and cannot be edited.
In the following sections we will continue exploring the elements of the audio chain.