
Let us start by downloading and importing the “Exercise 1” preset.
It is recommended to create a dedicated Holophonix project, as this will make managing the 3D room and other specific parameters easier between exercises.
Once loaded, the room should appear in the presets.
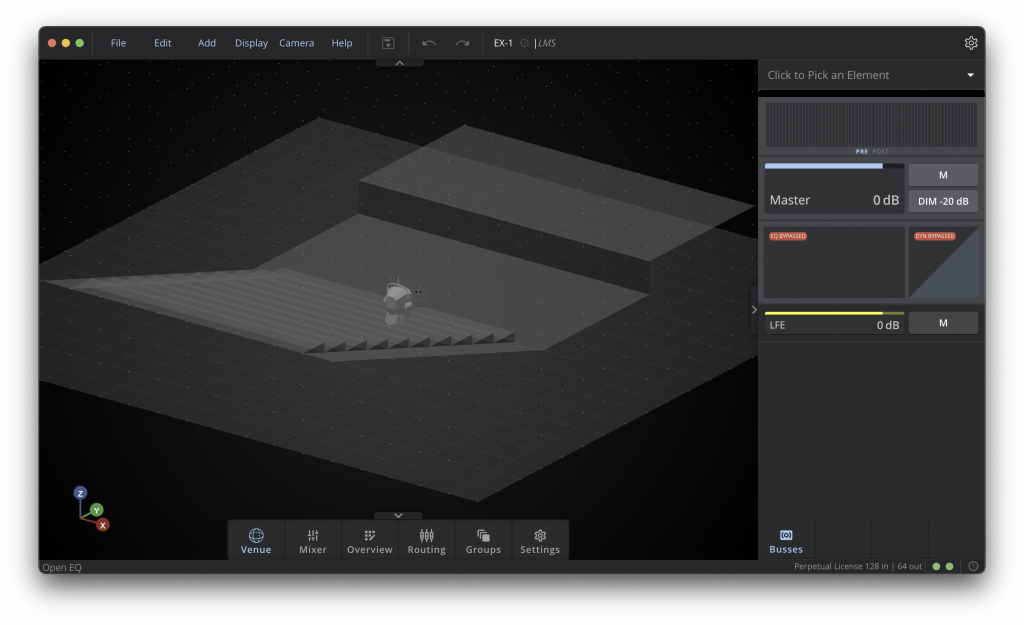
Adding the Speakers
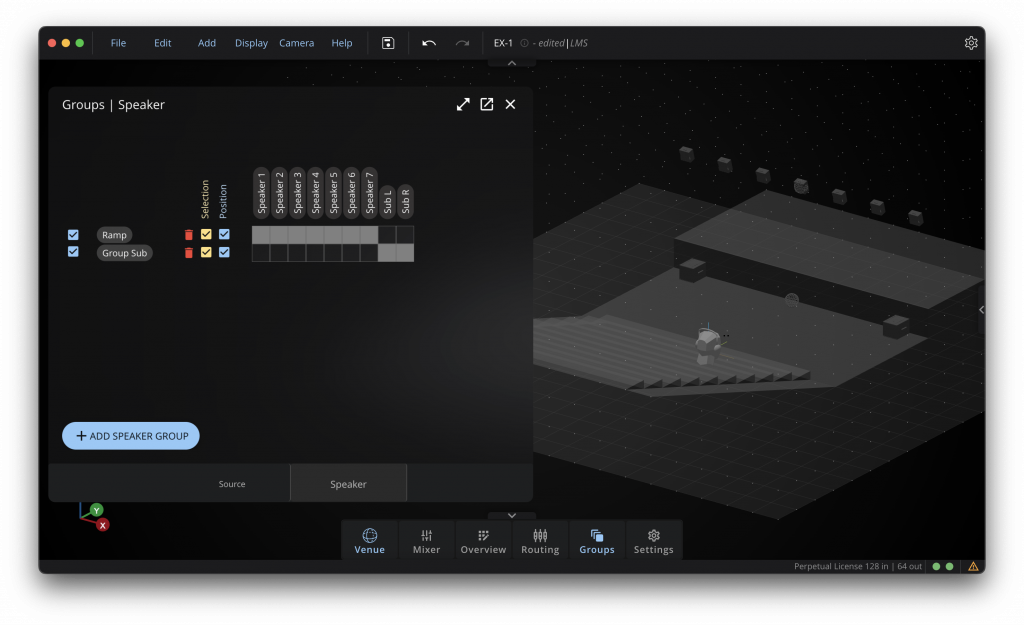
High Array
Let us place 7 Amadeus C12 loudspeakers.
The array will be positioned at Y = 5 m and Z = 4 m.
The loudspeakers will be positioned along X so that the 7 loudspeakers are spaced 1.5 m apart, with the first at stage right, the fourth at centre (X = 0 m), and the seventh at stage left.
We will apply a 15° tilt to aim the loudspeakers towards the audience.
These 7 loudspeakers will be placed in a group so they can be managed collectively.
Subwoofers
We will place 2 subwoofers, one at stage left and one at stage right, at the foot of the stage.
The loudspeakers will be Amadeus ML 18, placed at Y = 4.5 m, Z = 0.25 m, and X at -4 and 4 metres.
Adding the Sources
For the sources, we will add 4 mono sources and 1 stereo source placed on stage.
The 4 mono sources will be grouped in a “mono” source group, and the stereo source will not be placed in a group so it can be managed independently.
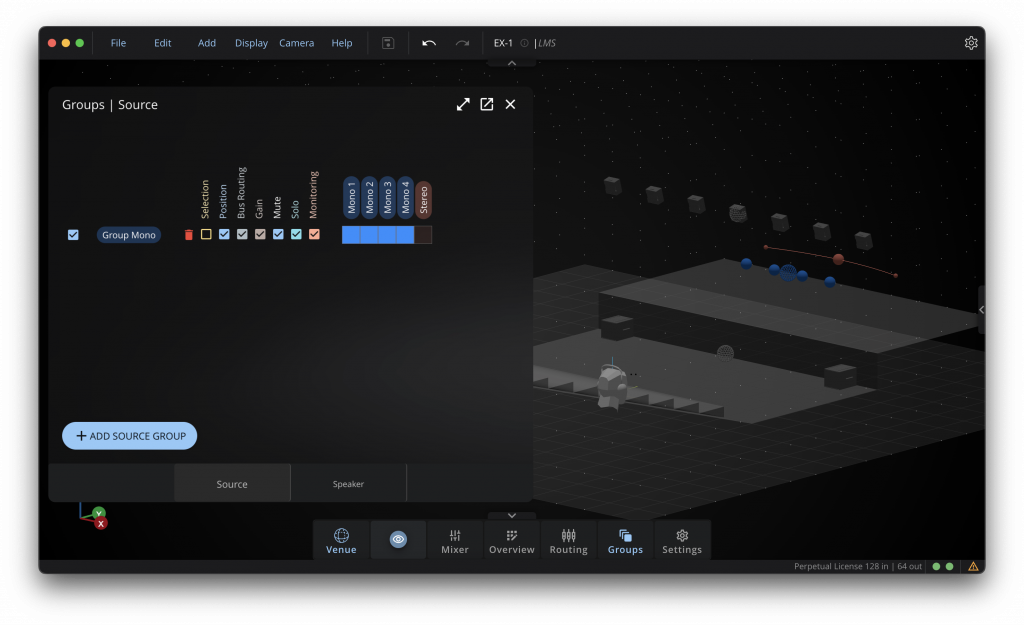
The sources will be placed on stage. Remember to position them at a realistic height given the stage height, in order to avoid problems when using 3D algorithms.
Spatialization Buses
For this simplified setup, we will create two spatialization buses.
Front WFS Bus
We will place our mono sources in a 2D WFS spatialization bus, which will provide good spatial precision for the position of these sources across the entire audience area. This bus will play through the loudspeakers of the high array for which we have already created a loudspeaker group.
KNN Bus for the Stereo Source
Since stereo sources cannot be routed optimally in the WFS bus (in most cases, the L and R signals of a stereo stream are often highly correlated), we will create a KNN bus which will play through the same array loudspeakers, but avoids routing a stereo signal through a WFS for a more homogeneous result.
Subwoofers
In this simple case we will use the LFE to feed the subwoofers with low and infra-low frequency content.
Input / Output Routing
We will route our inputs as follows:
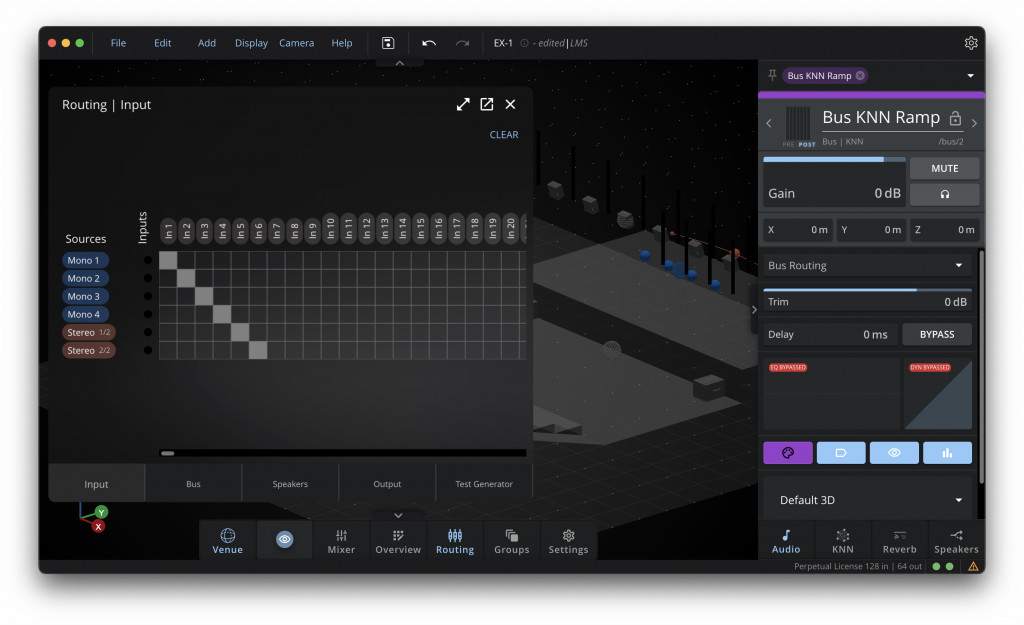
For the outputs, we will route:
The high array with the stage-right loudspeaker on output 1 and the stage-left loudspeaker on output 7.
The subwoofers will take the LFE signal on outputs 8 and 9.
Since our subwoofers are not currently routed into spatialization buses, it is normal not to see their “speaker” output routed in the output matrix.
If we wanted to spatialize the subwoofers, they would need to be routed appropriately.
For the LFE, we will enable the LFE crossover at 60 Hz by selecting the crossover in the LFE parameters.
Routing Verification
In the “Routing” tab, let us use the signal generator to ensure that each of our sources plays appropriately through the speakers. To do this, it is recommended to enable the VU meters in the “Display” options menu.
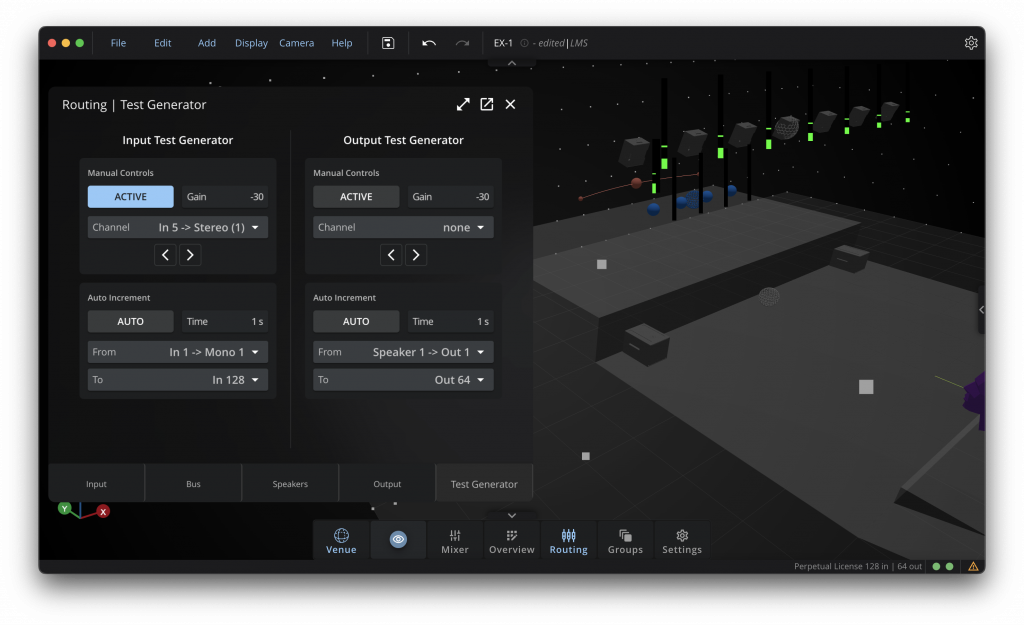
We will also verify that the LFE channel is receiving signal, either by checking in the “Mixer” panel or by selecting the LFE in the inspector.
Once this routing is created and validated, save your preset.
Then, export your preset (from the preset manager) to submit it for validation in the form below.