
In the previous section, we opened a project and navigated in the 3D view; now we will explore the architecture of audio streams in Holophonix.
Here is a simplified diagram of the audio streams:

Using the example project, we will explore these elements together.
Inputs and Sources
Inputs in Holophonix correspond to physical inputs, limited to the maximum number of inputs available in the Holophonix licence.
In the case of a Holophonix Native “Starter” licence, for example, we will have 32 inputs at our disposal.
These inputs can come from other equipment (audio interface, mixing console, …), a network interface (Dante, AES67, …), or software streams (using the Holophonix Virtual Soundcard).
Sources are the audio objects present in the graphical interface.
An input corresponds to an audio channel (or set of channels), whereas an object has an audio position in space associated with it, as well as audio parameters (Gain, EQ, Dynamics, …).
In our currently loaded project, we can see the sources:
- In the overview ([Dock] Overview > Sources)
- In the mixer ([Dock] Mixer)
- In the 3D view
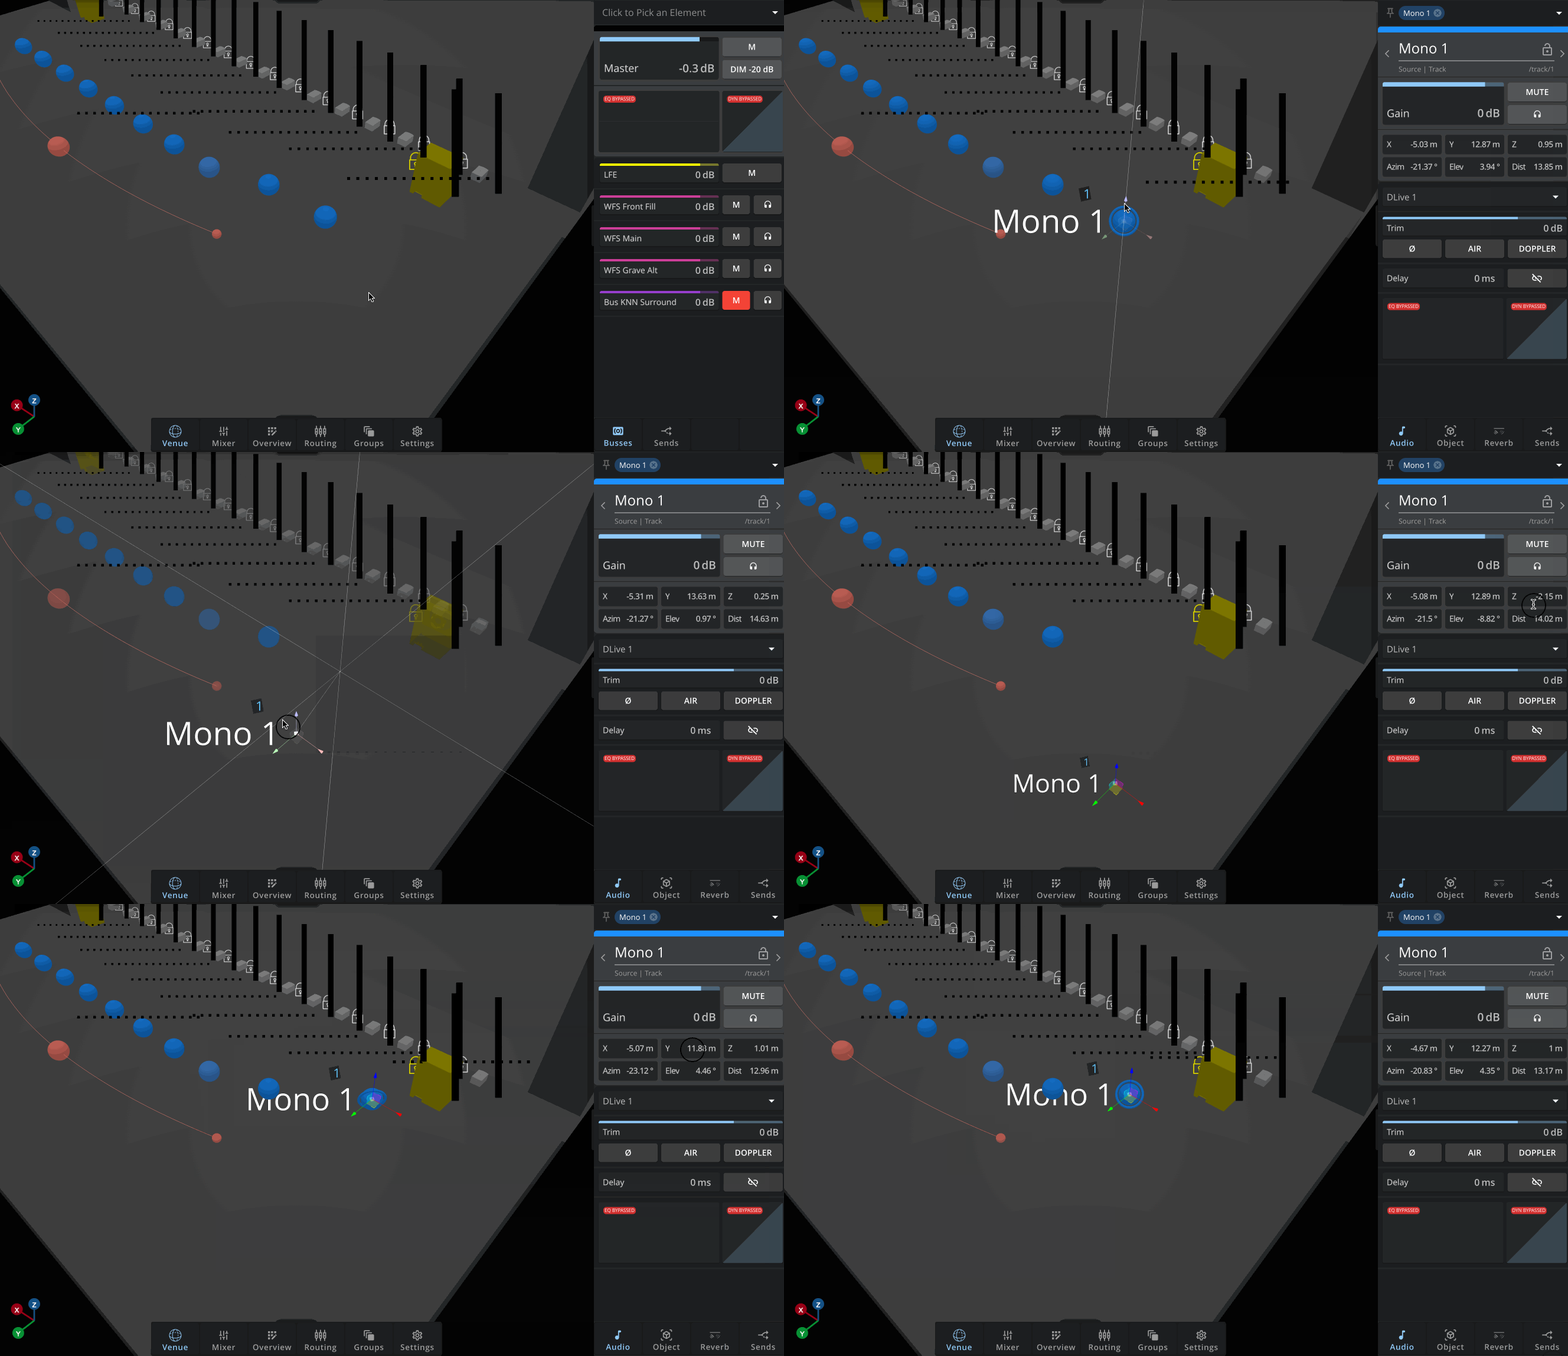
In the 3D view, let us select source 1, positioned at stage right.
Once the source is selected, we can move it directly in the 3D view. The axes that appear on selection can be used to constrain movement to a single axis or plane.
Once the source is selected, we can also see its parameters in the right-hand side panel (inspector) and edit them by entering numerical values directly.
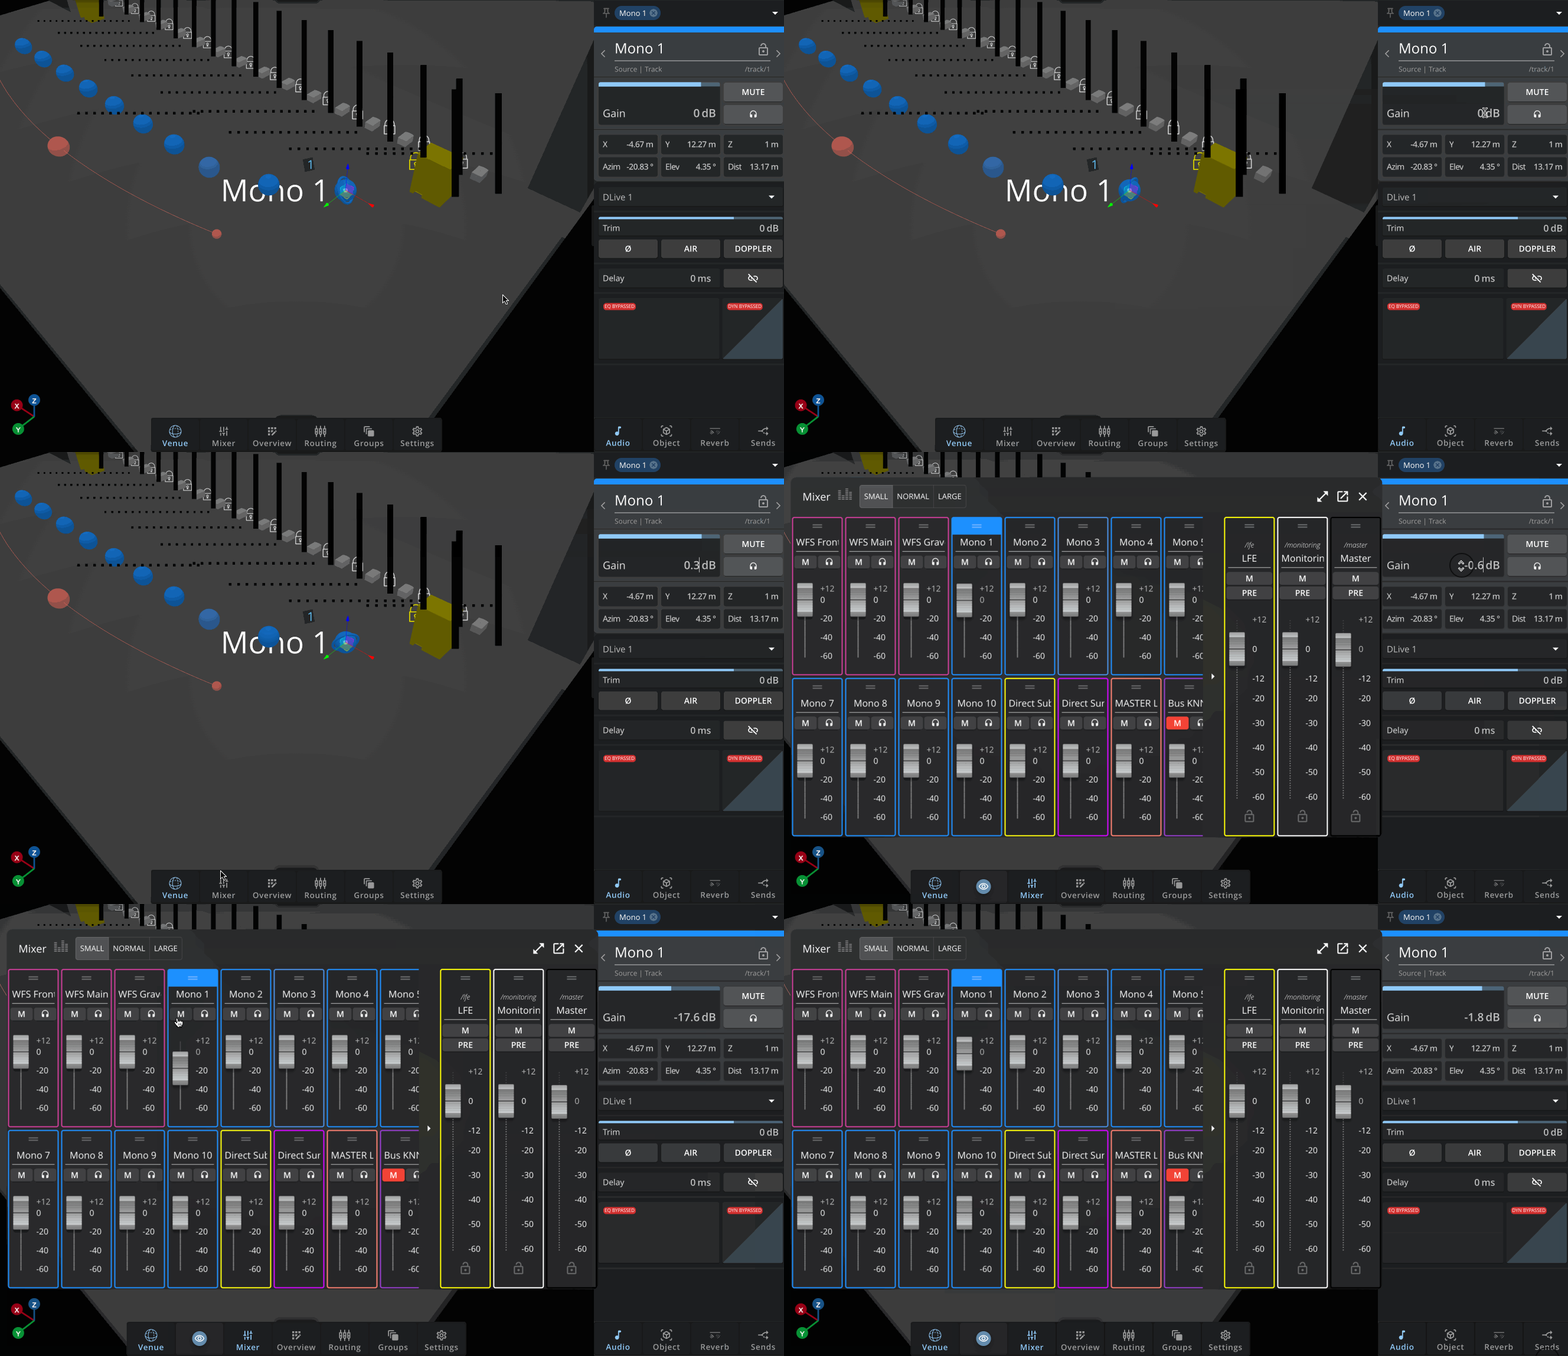
Just like the source position, we can also change the gain of a source, either from the inspector (by entering a numerical value or using a click-and-drag action), or from the mixer as one would in a DAW.
Adding a Source
We will add a new source to this project. To do so, click on Add (in the menu bar) then Add source. This action is also accessible by right-clicking in the 3D scene then Add and Add source.
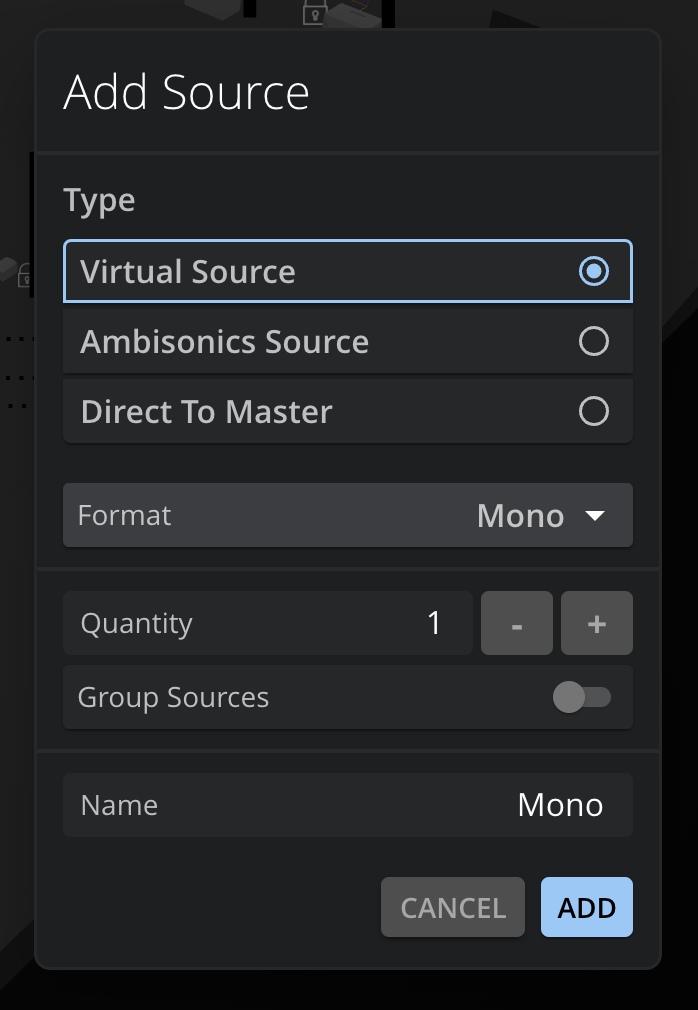
The source creation panel offers several options you can explore. For our example, we will add a “Virtual source” in “Mono” format, which we will name “Example”.
Once the source is added, it will be automatically placed in front of the listener. Let us move the source to the centre of the stage.
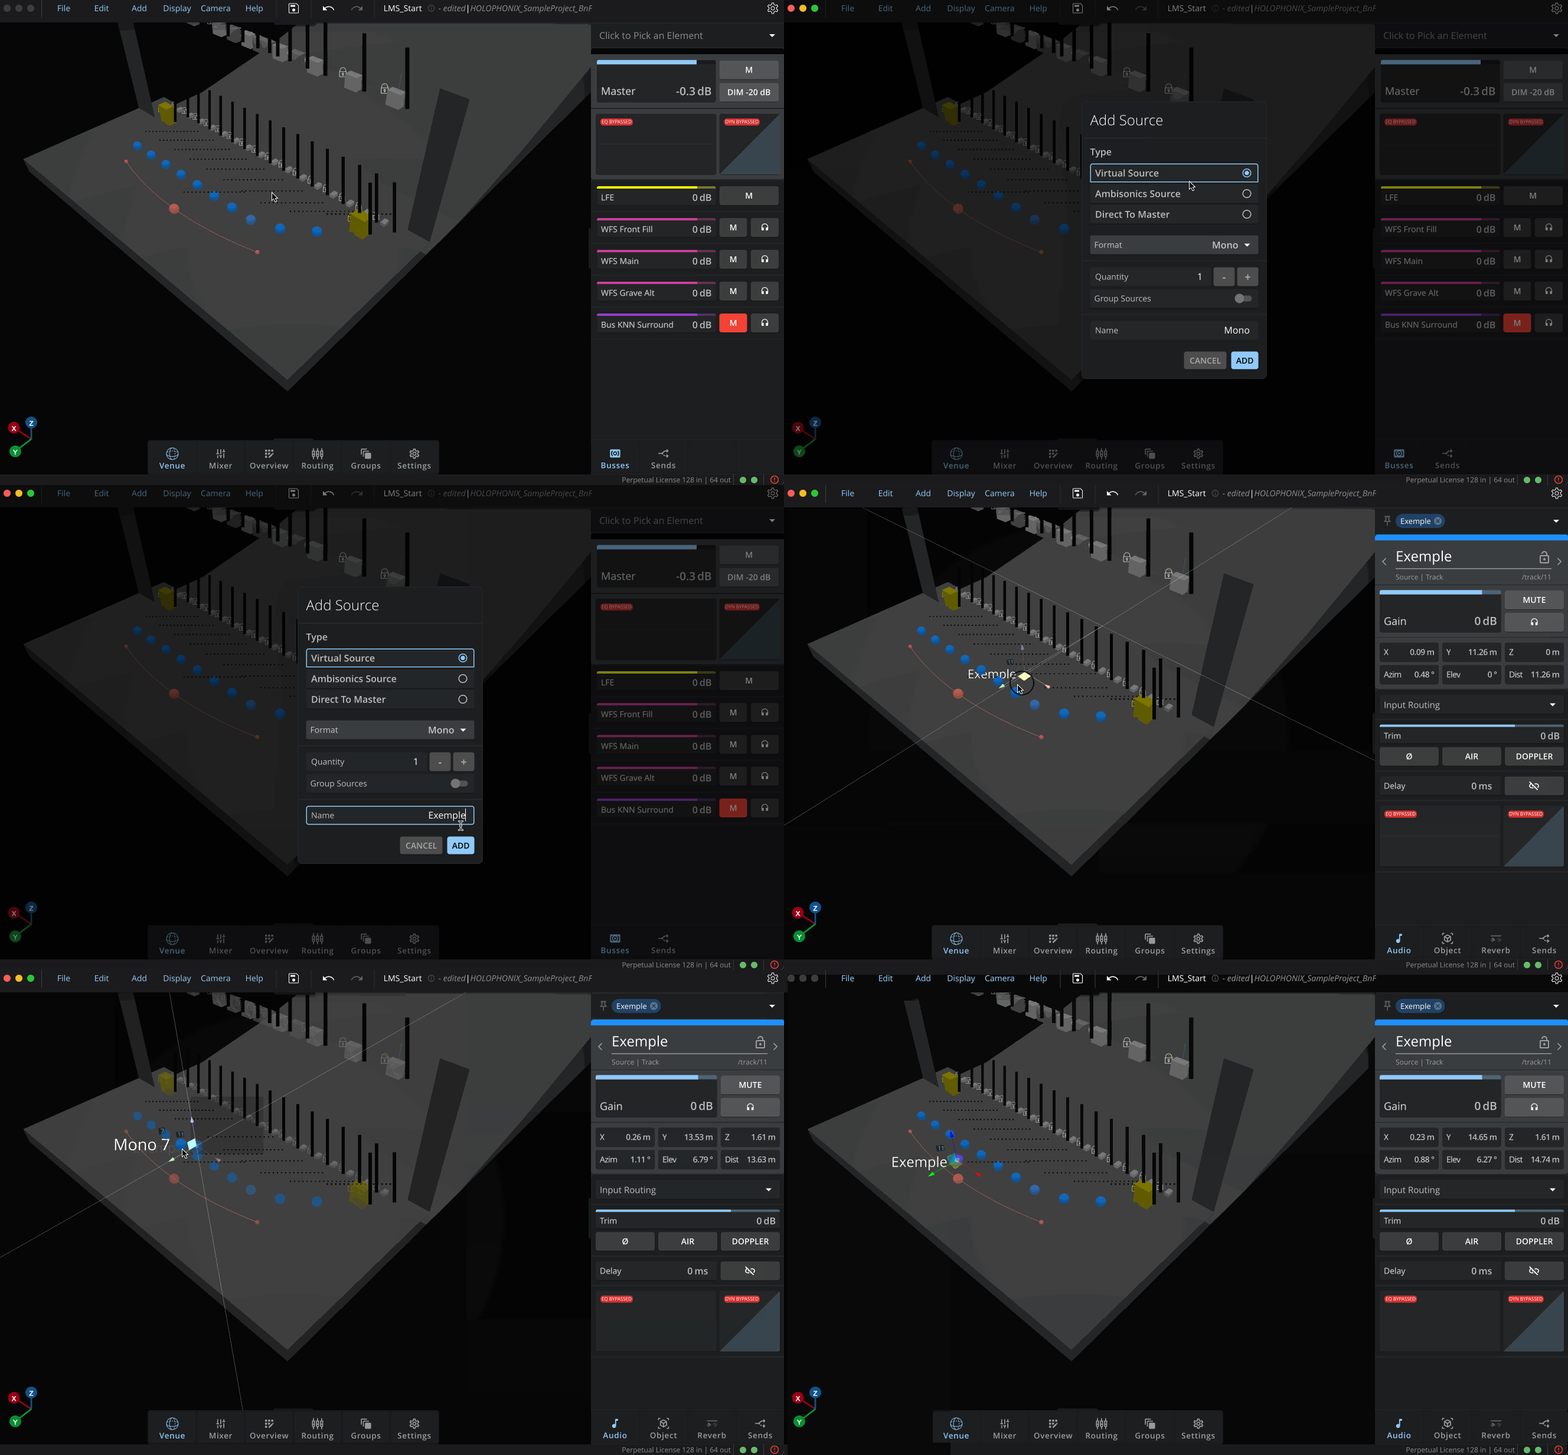
Our source is now created but will not receive any audio for the moment, as it is not associated with an input.
To do this, open the routing panel ([Dock] Routing) then the Input tab. In this matrix, we will route the first available input (“DLive 11”) to our source by clicking on the corresponding cell.
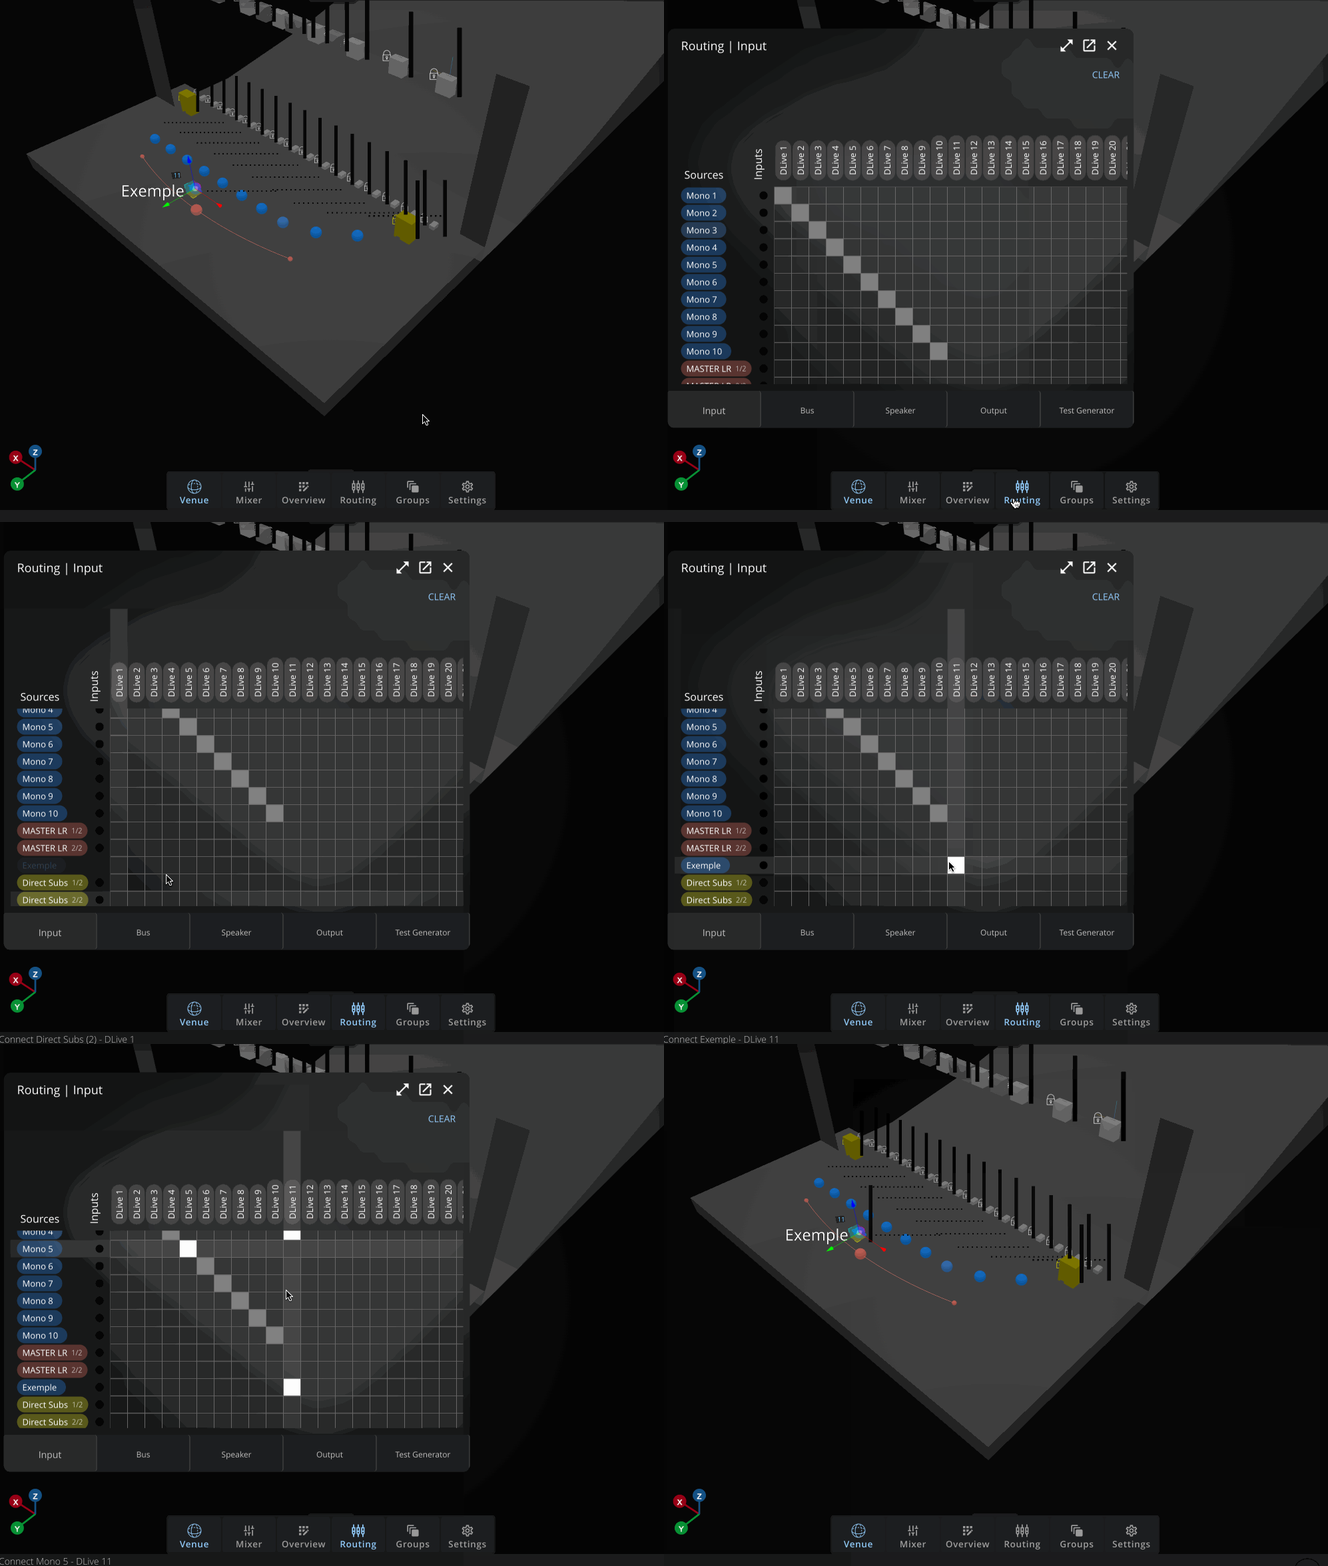
We have now created a source and assigned an input to it. Let us move on to the next step: buses.